
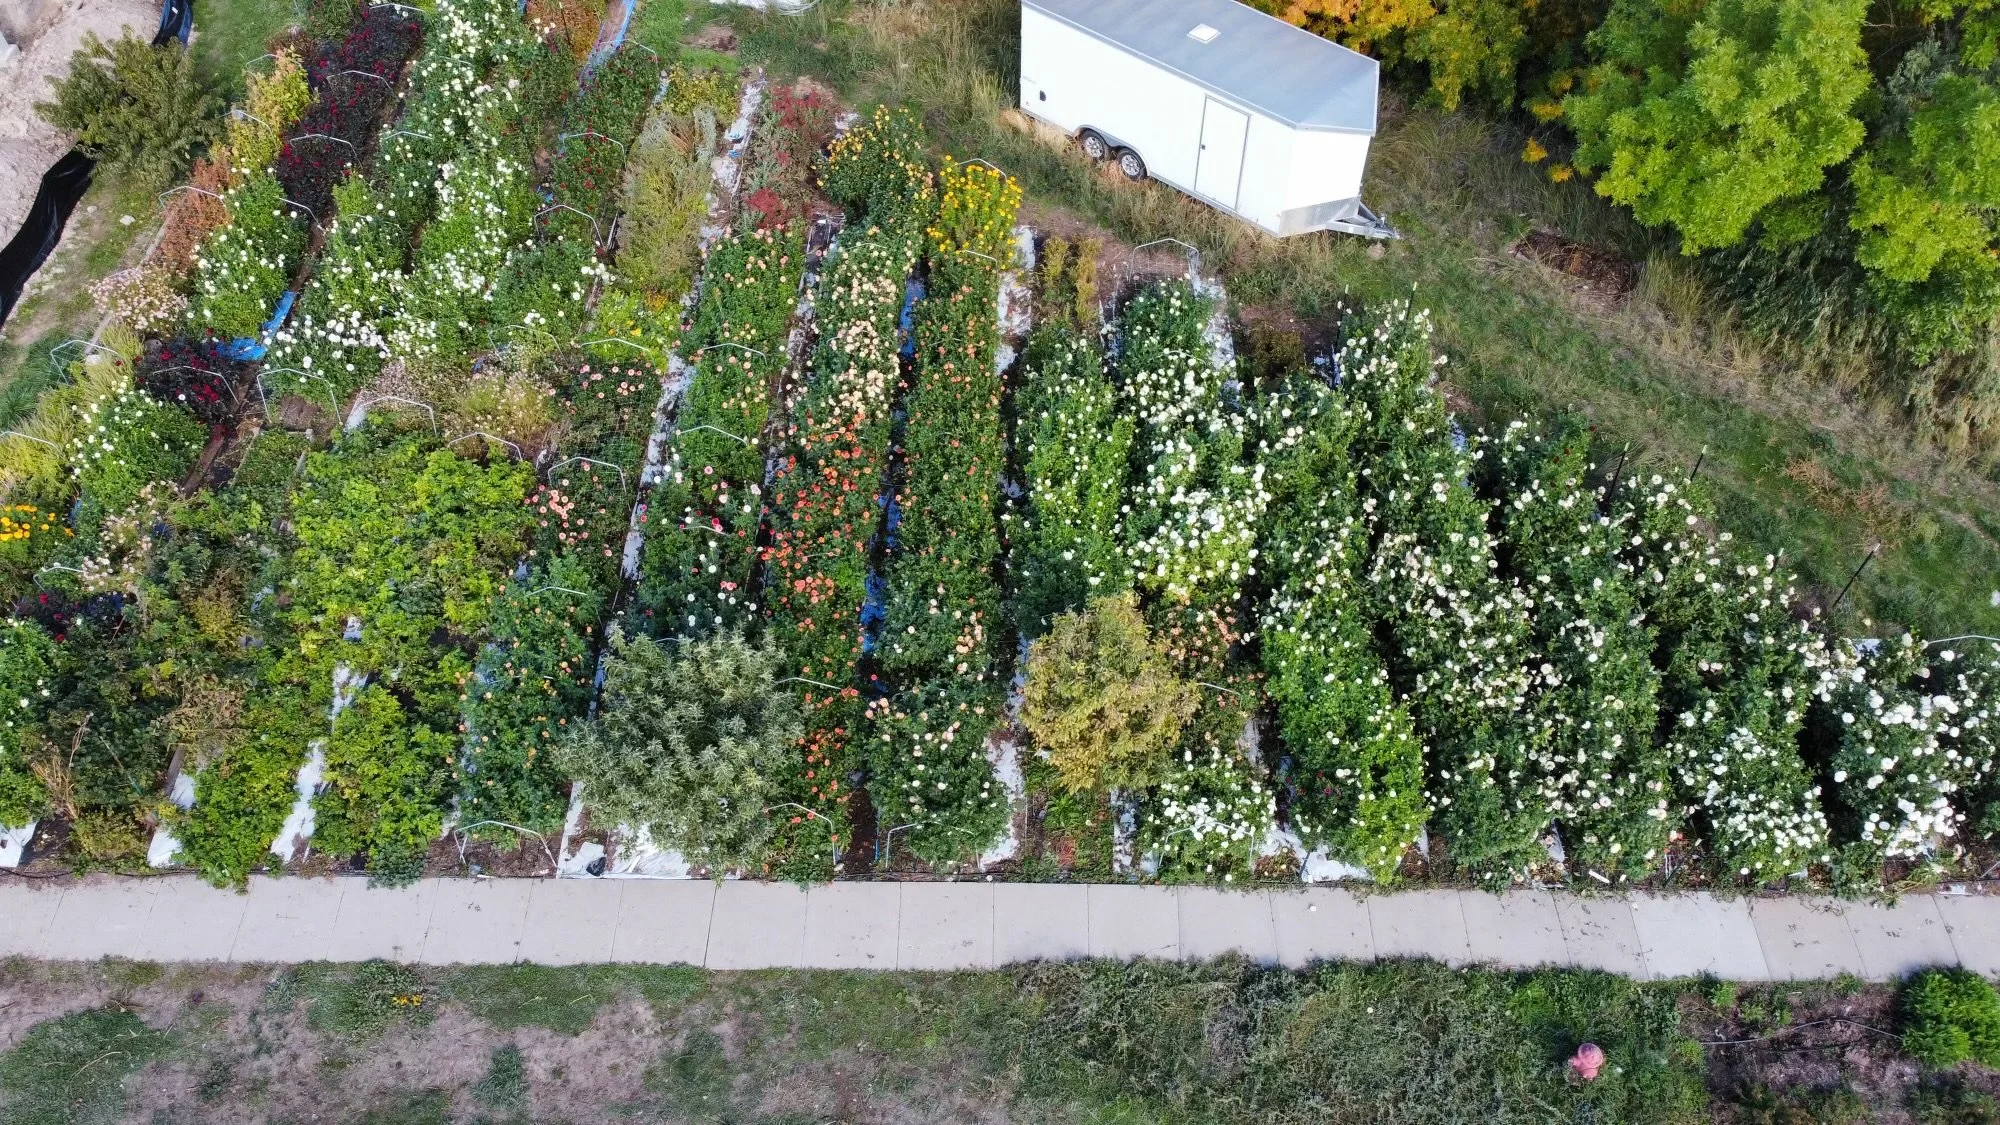
Everyone loves a good April Fool’s joke and Utah played one this year. The farm was blanketed in several inches of snow before 10 am, casting a calm on the morning. But in true spring fashion, the day ended with sunshine and big puffy clouds dotting the sky. The soil was a deep rich brown color as it was saturated with moisture. Soil is the topic for the day because it does so much for our plants. This post will guide you through preparing your soil for dahlias in Utah, with advice tailored to our soil conditions.
Testing the soil
A common first step in preparing a growing space is testing the soil to learn about the nutrient levels and organic matter but do not let this be a road block for planting. It can be done any time of the year - even if it is more ideal to do it in the spring. Sometimes you just have to get it in! Luckily for all of us, Utah State extension has a whole series called “Solutions to Soil Problems.” In discussions about soil data with USU professor Melanie Stock, the Wasatch Front typically has high salt and phosphorus, and low nitrogen levels. Nitrogen deficiency in dahlias can cause yellowing leaves and stunted growth. I do not know specific changes to dahlia plants if the phosphorus is to high but I do know that generally that adding more phosphorus isn’t great for the environment.
Here are links to local labs that test soil samples:
USU: https://www.usu.edu/analytical-laboratories/
I have a preference for the USU lab as I attended USU - Go Aggies!
Amending the soil for dahlias: Compost and Nitrogen
I use 2 amendments on the farm. Compost and nitrogen but I will also touch on a couple of other amendments that are dependent upon where you live, what your plants are doing and results of a soil test.
Compost
This is my first method - I love it for the organic matter and nutrients it adds but not all compost is the same. When you are looking for compost, look for a products that is dark in color so it looks and smells earthy. If you are local I have used compost from 3 places
Davis landfill - it has a great balance small and large particles and has the earthy smell of finished compost. The price point can’t be beat - $25 for 1.5 yards!
Bountiful landfill- It was a little too woody for me but still a good product.
Central Davis Sewer district - This is more of a mulch than a compost.

Every year I add about 2 inches of compost to the field (~ 10 yards of compost). I have Nick from Take It Away Dumpster Rental pile it up on the north side of the farm by the peach tree. From there friends and neighbors of the farm come over to lay compost. It is fun to rub shoulders with fellow flower lovers, get some sun and hard work in.
Some years I till the compost into the lower layers of the existing soil but you may have read about the ‘no-till method.’ This method focuses on preserving the architecture of the soil. I have learned a lot from Jennie Love an established grower who has been growing flowers with a no-till method for many years. Her podcast is ‘The No-Till Flowers Podcast'.’ I agree with many of the principles but in balancing all the things - I am no-till one year and till the next.
Nitrogen
This amendment is applied within days of planting. I use a shaker to evenly spread the blue crystals of Nitroform nitrogen over the field. It is easy to apply and over the next 8 weeks, plants will get the nitrogen they need to grow healthy, full plants. If you want to go real scientific (I am a research by trade), check out this paper by Dr. Stock about nitrogen management. Because of this article, I apply more nitrogen to my dahlias. Don’t be afraid to call the fertilizer companies to have them help you figure out the application rate. If you are adding higher levels of nitrogen, getting a soil test will help you know if you are adding to much.

Now for the ones I don’t use but may be appropriate for you.
Leaching your soil
A process of adding significant amounts of water to your soil helps to move, or ‘leach’ salt out of the soil. Winter snow and rains help to naturally do this. Salt can affect the health of your plant, often seen by plants with stunted growth. Some flowers I have grown have been more sensitive to it. If you are concerned about high salt levels, test your soil and consider testing your water. Leaching works best in soils with good drainage.
Bone meal
Literature for dahlias promotes the addition of bone meal in the hole you dig for the tuber. Bone meal breaks down rather quickly so it can supply the growing roots with phosphorus which is important for the development of strong root systems. However, the soil along the Wasatch Front usually has enough phosphorus. I do not add bone meal or any other phosphorus amendment and for the past 8 years my phosphorus levels have remained high. Unlike salt, phosphorus stays in the soil so adding more can cause weak stems, stunted growth and yellowing of plant leaves.
Soil sample collection tips:
A soil test is relatively easy to do and can be done in about 10 minutes. The hardest part for me is getting it to the post office!
Supplies:
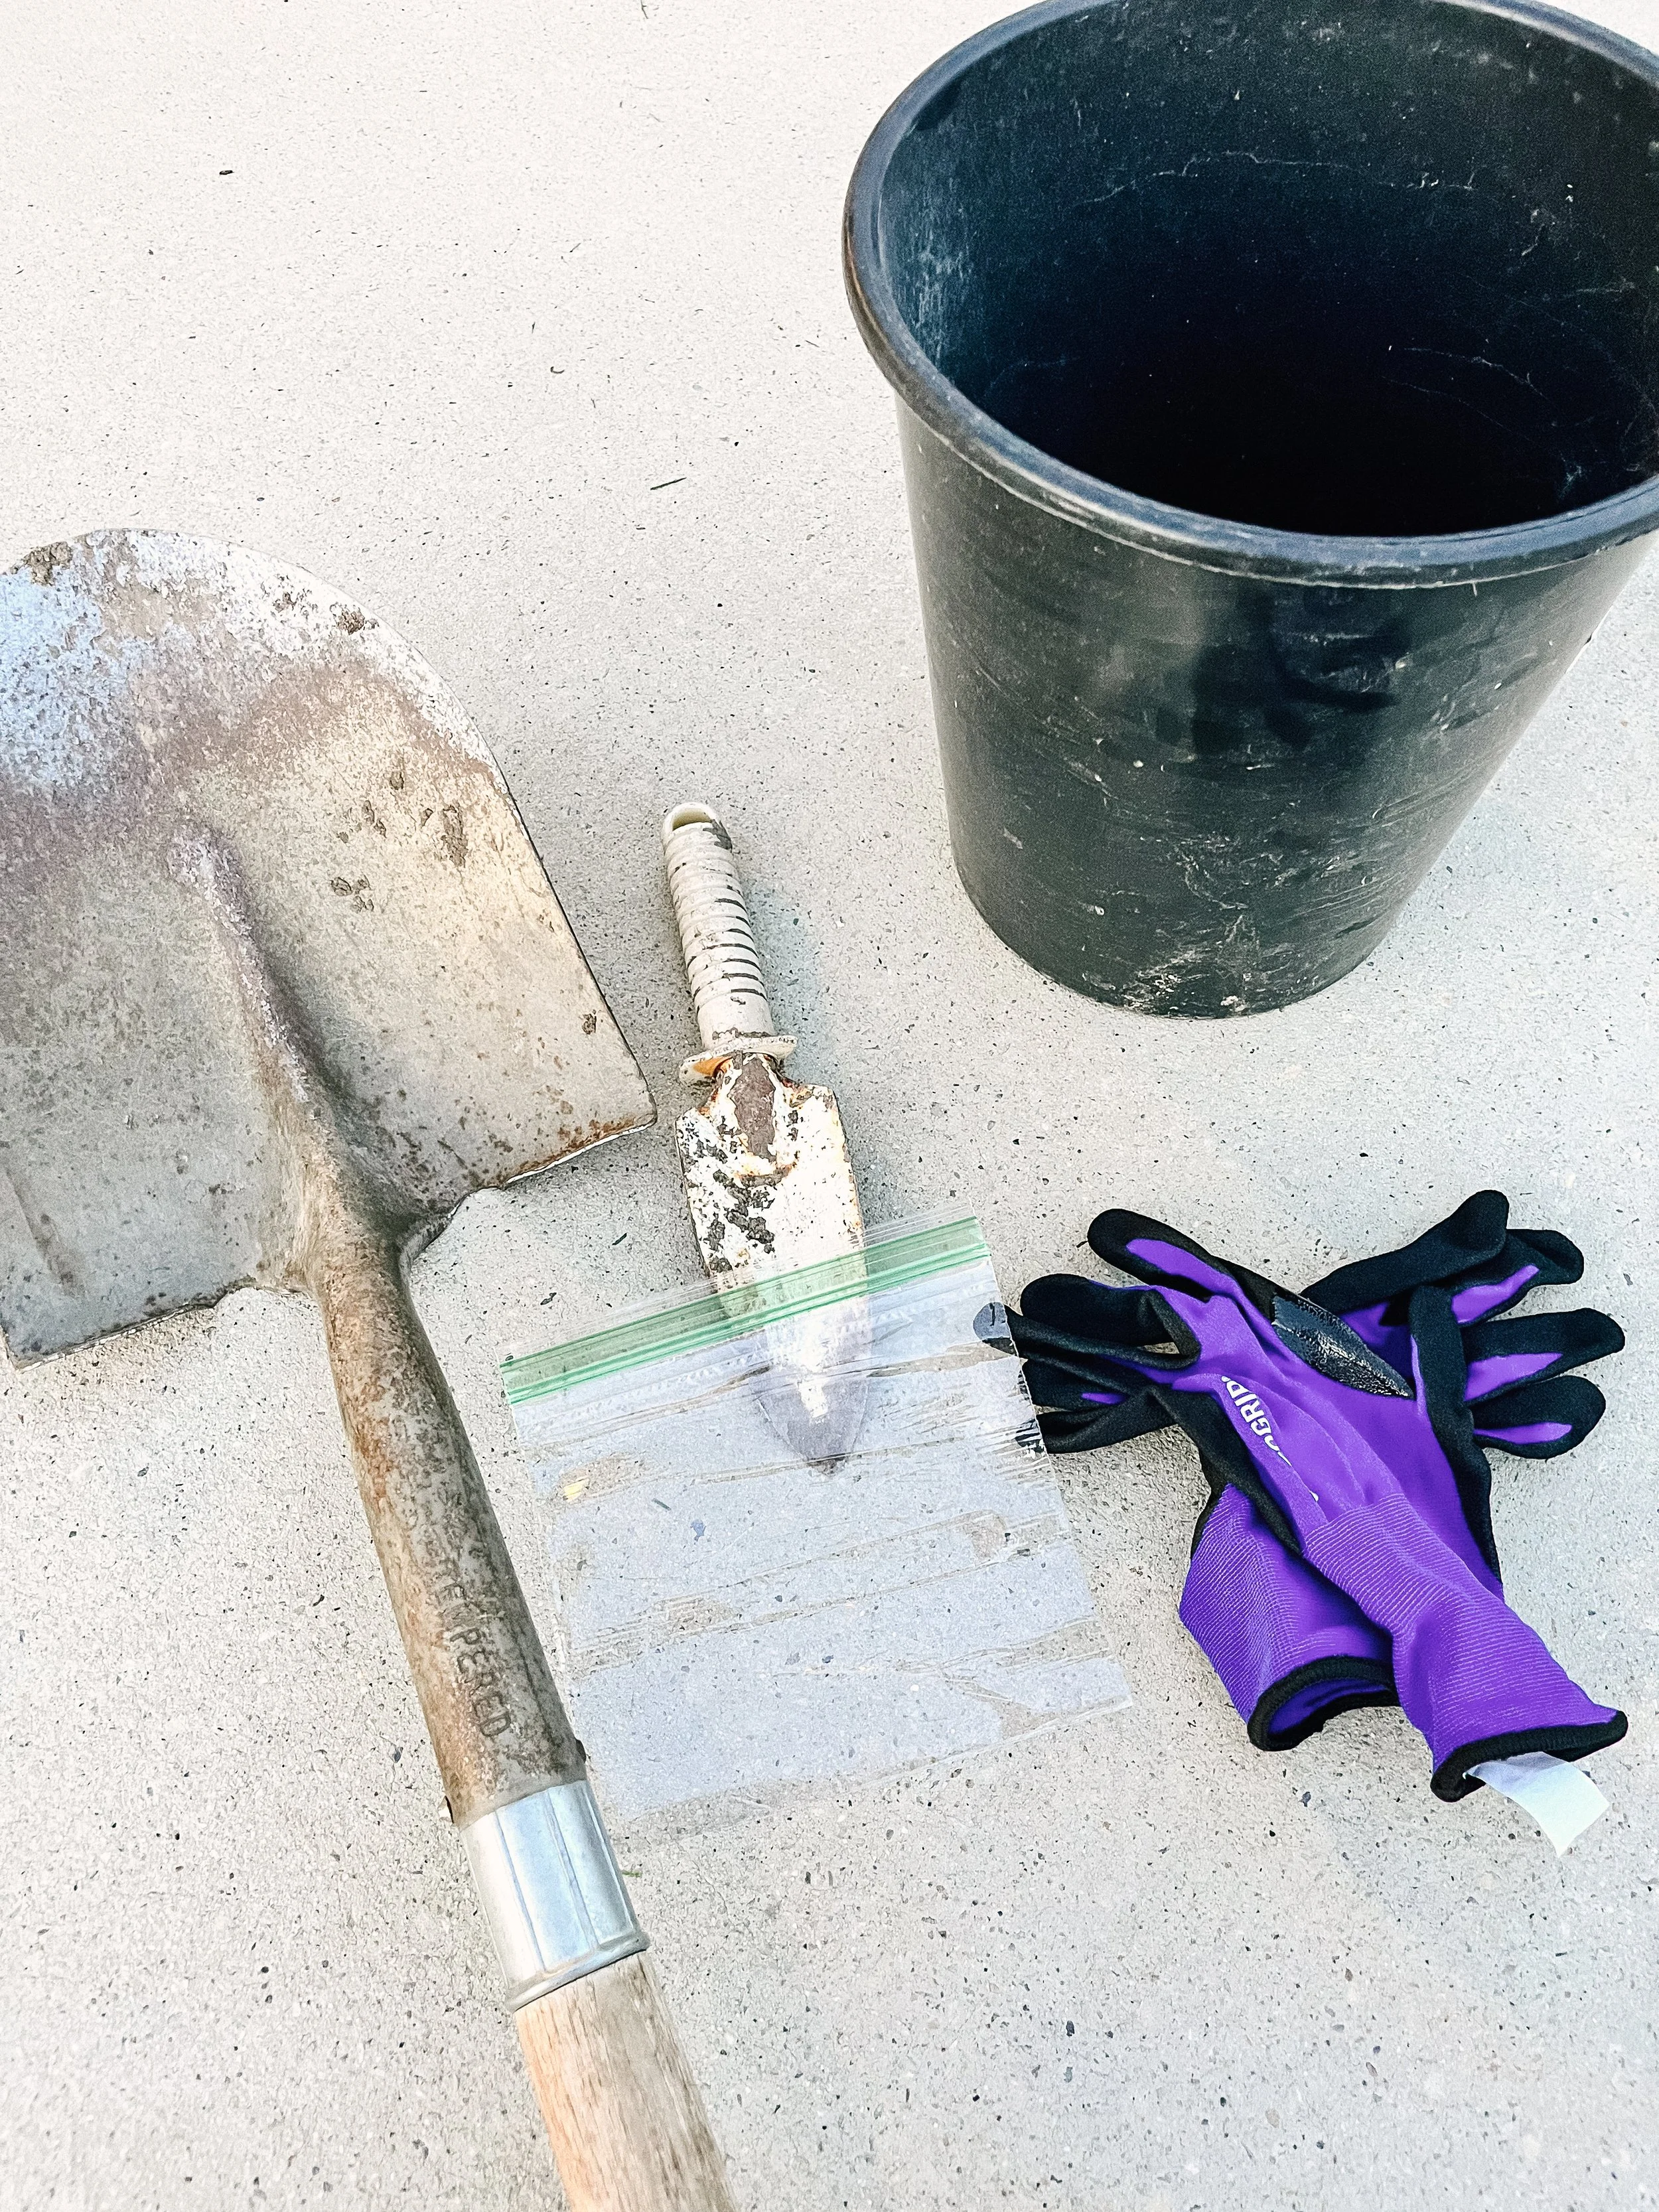
Instructions
Dig a hole that is about 10 inches deep with a large shovel
Remove some soil from the bottom of the whole with a small shovel and put it in your bucket.
Repeat several times in your growing space. I will dig 10 holes In my growing space (80 ft by 100 ft divided in half like a triangle)
Fill the holes in - otherwise twisted ankles and theories about a new rodent will abound. Feel free to learn from my experience!
Mix all the samples together by using your shovel as a stirring utensil.
Break up any chunks. Remove enough soil to mostly fill your sandwich size zipper baggie.
Fill out your submission form and select the test you want - I like the Complete Test at USU.
Use a flat rate shipper to send your sample in.
What questions can I answer about soil preparation for dahlias? Ask me in the comments.
Happy gardening!
Lindsey
